DIY: Protect your fog lights or fix your broken ones!
#1
Thread Starter
Registered User
iTrader: (11)
Joined: Nov 2010
Posts: 2,196
From: Morgan Hill
Car Info: 2011 WRX Sedan
DIY: Protect your fog lights or fix your broken ones!
So my OEM fog light housing cracked and there is really no way to truly repair it or get it replaced, so I came up with a somewhat solution. Actually its more of a solution to stop your fog lights from cracking. I know the make fog light protectors for the 08-10 STi and WRX but not for the newer body styles so here is what I came up with. Not the greatest DIY but its a straight forward job so I didn't go into too much detail. Enjoy!
Whats needed:
(1) Lexan Polycarbonate sheet 8"x10" .093in thick (basically plexiglass)
(1) Plastic cutter (I ended up using a Dremel)
Some super glue and or adhesive sealant.
Tape Measure
Tape
Safety Glasses
Patience

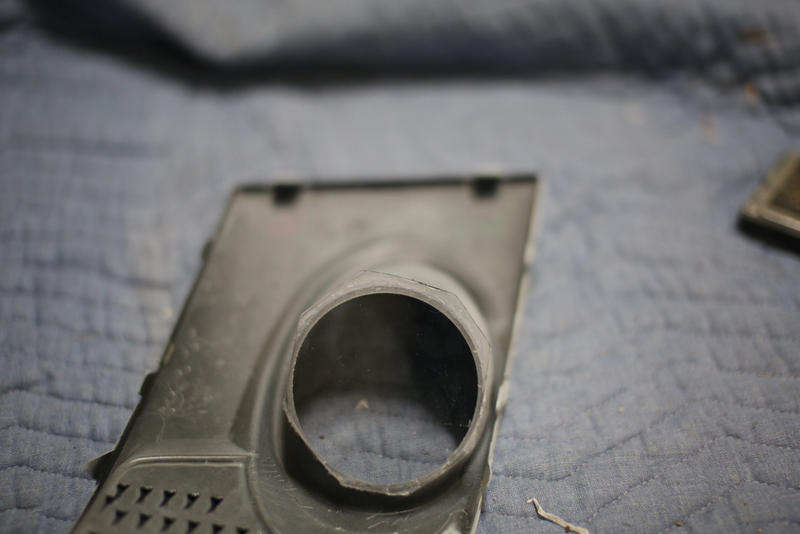
Close up of crack

Step 1
Remove your front bumper completely and remove fog light cover. This can be done carefully by prying it away from the bumper but to be safe and to not risk scratching I suggest taking the bumper off. Also I had to take out the entire fog light housing and hair dry it to dry up all the water inside.

Step 2
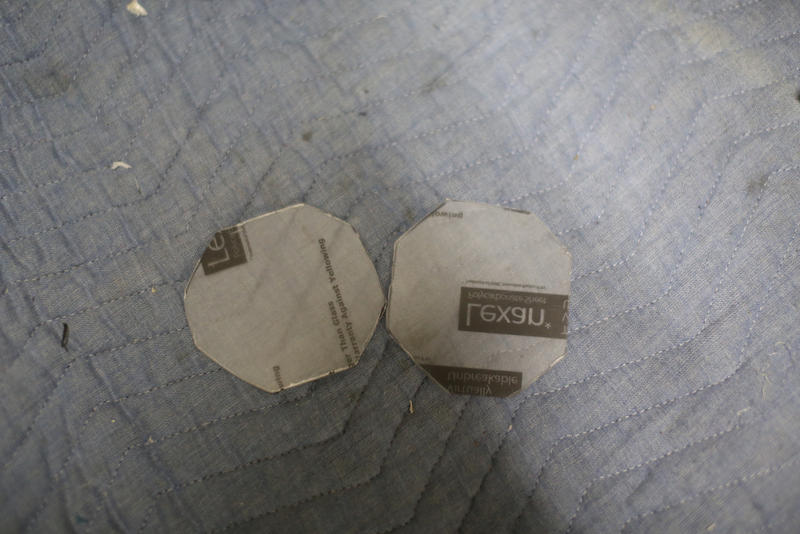
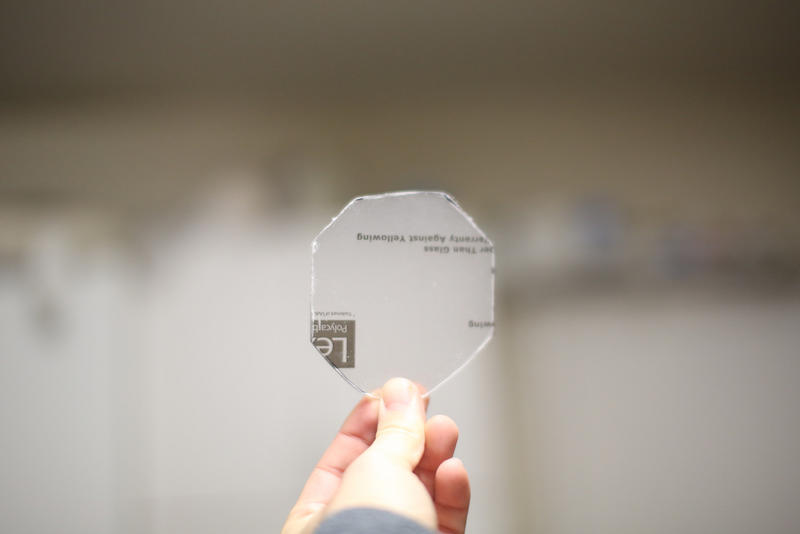
Cut your Lexan sheet. I originally planned to make a retangular piece and slide it in but clearance was smaller than I thought so I ended up cutting it down to size as seen in the second picture. I suggest making it a tiny bit bigger than the hole opening so you can glue it easily.


Step 3
Remove 1 side of the protective cover plastic piece covering the Lexan sheet. Place the side face down covering the hole so it faces out wards (into on coming traffic) when installed. Next take a two small pieces of tape and tape the Lexan piece into place, then glue either side. After a few minutes remove all of the tape and glue as much as you can. Let sit for a few minutes to dry.


Step 4
After the glue is dry carefully remove the last remaining protective cover so the Lexan sheet is nice and transparent. Then replace the fog light cover reinstall the bumper.

Completion
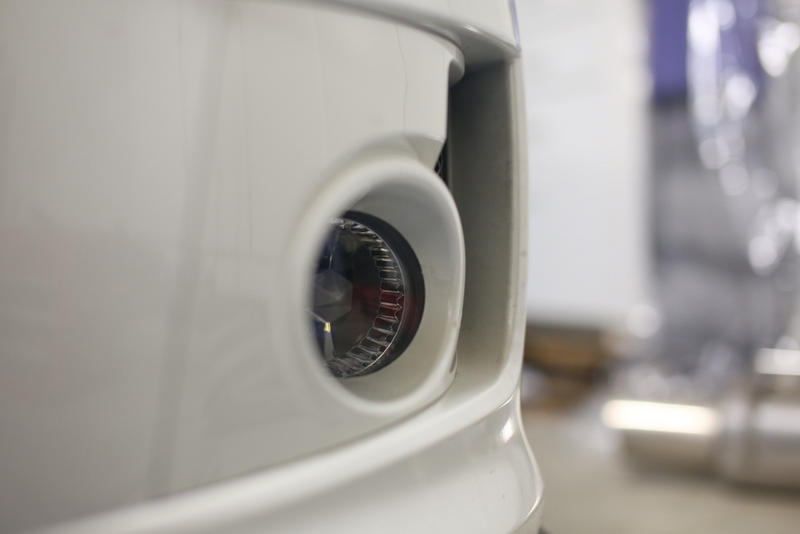
There good as new, or at least it will keep it new for longer than mind stayed new lol opcorn: This stuff is advertised to be 200 times stronger than glass and it has never failed me. I had this simple mod done to my old civic (common fog light crack problem) and it never cracked after that.
Whats needed:
(1) Lexan Polycarbonate sheet 8"x10" .093in thick (basically plexiglass)
(1) Plastic cutter (I ended up using a Dremel)
Some super glue and or adhesive sealant.
Tape Measure
Tape
Safety Glasses
Patience

Close up of crack

Step 1
Remove your front bumper completely and remove fog light cover. This can be done carefully by prying it away from the bumper but to be safe and to not risk scratching I suggest taking the bumper off. Also I had to take out the entire fog light housing and hair dry it to dry up all the water inside.

Step 2
Cut your Lexan sheet. I originally planned to make a retangular piece and slide it in but clearance was smaller than I thought so I ended up cutting it down to size as seen in the second picture. I suggest making it a tiny bit bigger than the hole opening so you can glue it easily.


Step 3
Remove 1 side of the protective cover plastic piece covering the Lexan sheet. Place the side face down covering the hole so it faces out wards (into on coming traffic) when installed. Next take a two small pieces of tape and tape the Lexan piece into place, then glue either side. After a few minutes remove all of the tape and glue as much as you can. Let sit for a few minutes to dry.


Step 4
After the glue is dry carefully remove the last remaining protective cover so the Lexan sheet is nice and transparent. Then replace the fog light cover reinstall the bumper.

Completion
There good as new, or at least it will keep it new for longer than mind stayed new lol
 opcorn: This stuff is advertised to be 200 times stronger than glass and it has never failed me. I had this simple mod done to my old civic (common fog light crack problem) and it never cracked after that.
#7
If in doubt, FLAT OUT
iTrader: (33)
Joined: Oct 2010
Posts: 7,045
From: Nor Cal SJ
Car Info: 2010 Hatch, 2011 Sedan
Nice work and great idea but seems like a whole lot of work for something that is going to fade and chip over time (except it won't be your lights getting damaged). You can get lamin-x sheets for a like $10 and not have to remove or glue anything. It looks like they don't make the precut ones for the 06-07s anymore.
#8
Dirty Purple Ukrainian
iTrader: (1)
Joined: Mar 2010
Posts: 4,431
From: In the Purple Land
Car Info: SUBARU BROOM
I would really recommend getting fog lights protectors, i had to replace my fog light and it was $300. I just got some from my dealership for $35. this is a great DIY project, nicely done.
Thread
Thread Starter
Forum
Replies
Last Post
tekgnosis
Engine/Power - EJ20T (pre-2006 WRX and JDM)
14
09-07-2006 05:21 AM
nachomc
Sacramento & Reno
21
11-04-2004 09:26 AM


